Color and Tone Corrections
Adobe Photoshop Basic Class
Read More
Adobe Photoshop Retouching Tutorials

This video is available Free for Everyone.
Running Time: 9 minutes
This Adobe Photoshop Cloning Tutorial is about the High Pass and Low Pass Frequency Separation method of cloning. We covered many different topics in our Photoshop Extended Cloning Video Tutorial, but we wanted to give you this advanced way to clone, as a sample of the content you can find in the full video.
If you use the Clone Stamp Tool, Healing Brush, or Spot Healing Brush straight onto a layer, you are making an exact clone with little control over the fine details. If you approach your clone with a High Pass Layer for texture, and a Low Pass layer for color and tone, you greatly increase your ability to soften or remove skin blemishes, facial hair, and even pores, without a dreaded repeating pattern.
This
Read More
This video is available Free for Everyone.
Running Time: 8 minutes
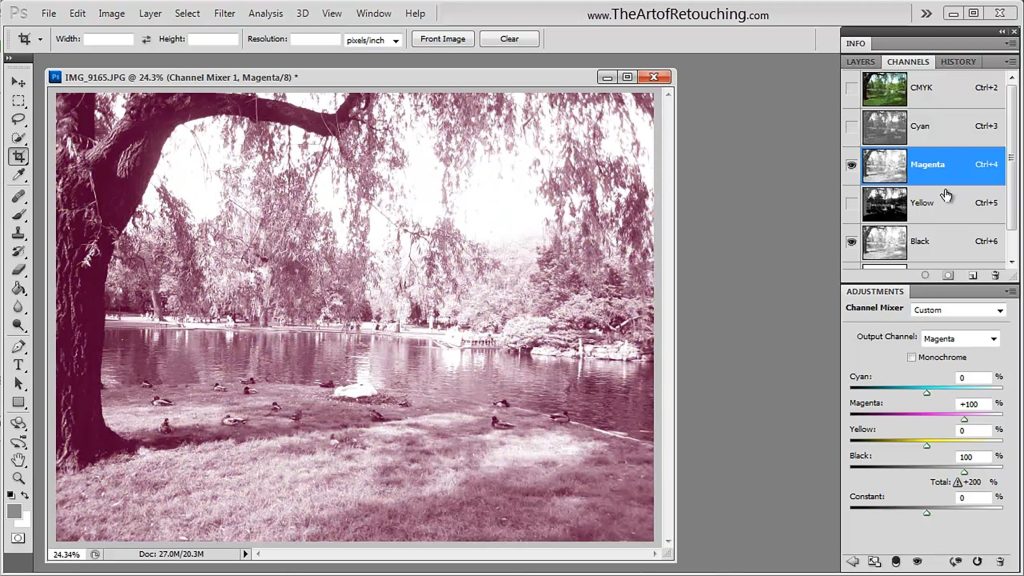
This Adobe Photoshop Tutorial video will show you how to use the Channel Mixer. This is the fourth of four videos about working with channels. We will explain how to use the channel mixer, and when you would want to use it. Before you watch this video, we strongly recommend you watch the previous Adobe Photoshop tutorial about the Color Channel and Alpha Channel, and then you can then follow this one withone about the Spot Channel if you havent seen it yet.
This video is available Free for Everyone.
Running Time: 8 minutes
This Adobe Photoshop tutorial video will introduce Spot Channels. This is the third of four videos about working with channels. We will explain what Spot Channels are, and how they differ from regular Color Channels. Before you watch this video, we recommend you watch the previous Adobe Photoshop tutorial about Color Channels and Alpha Channels, and you can then follow this one with the Channel Mixer.
Spot colors are intended to be used with CMYK for printing. These will allow you to add extra colors for press such as PMS, create “bump plates”, or for detailed varnishes. The can be used to add a 5th color to a CMYK print run, or limit the image to a two color duotone image. Used with Quark
Read More
This video is available Free for Everyone.
Running Time: 8 minutes
This Photoshop video tutorial will introduce Alpha Channels. This is the second of four videos about working with channels. We will explain what Alpha Channels are, and how they differ from regular Color Channels. Before you watch this video, we recommend you watch the previous Adobe Photoshop tutorial about Color Channels, and you can then follow this one with Spot Channels, and the Channel Mixer.
This video is available Free for Everyone.
Running Time: 10 minutes
This Adobe Photoshop tutorial video will introduce Color Channels, and the Channel Palette, We will explain what channels are, the different options available in the palette, and we will touch upon how to use them. After you watch this video, follow the links for more information about Alpha Channels, Spot Channels, and the Channel Mixer.
This video is available Free for Everyone.
Running Time: 6 minutes
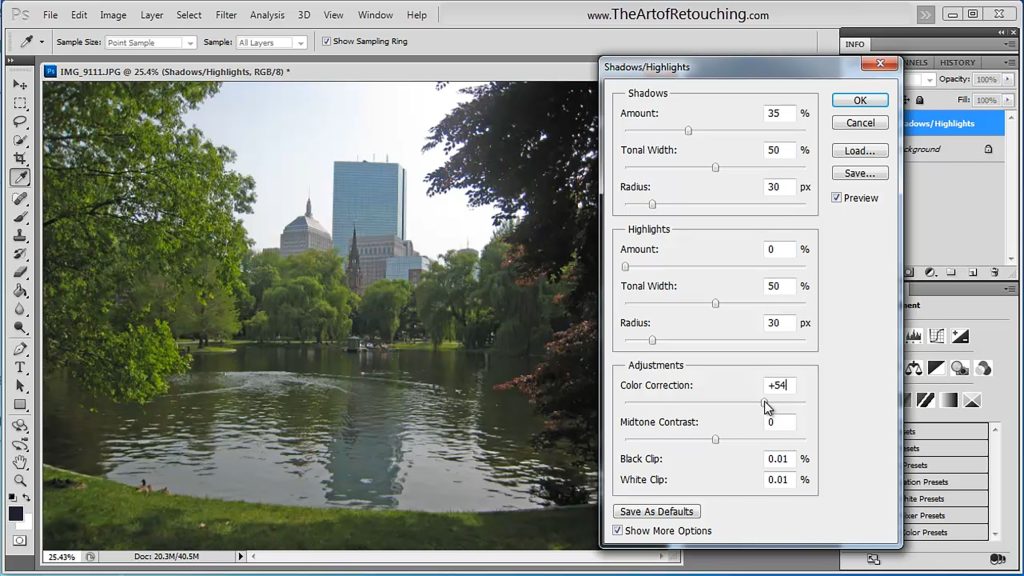
This Photoshop Tutorial video, we will discuss the Shadows and Highlights Tool, as well as the Exposure Adjustment. The moral of this story, is "Just because something is there, does not mean you need to use it".
This video is available Free for Everyone.
Running Time: 11 minutes
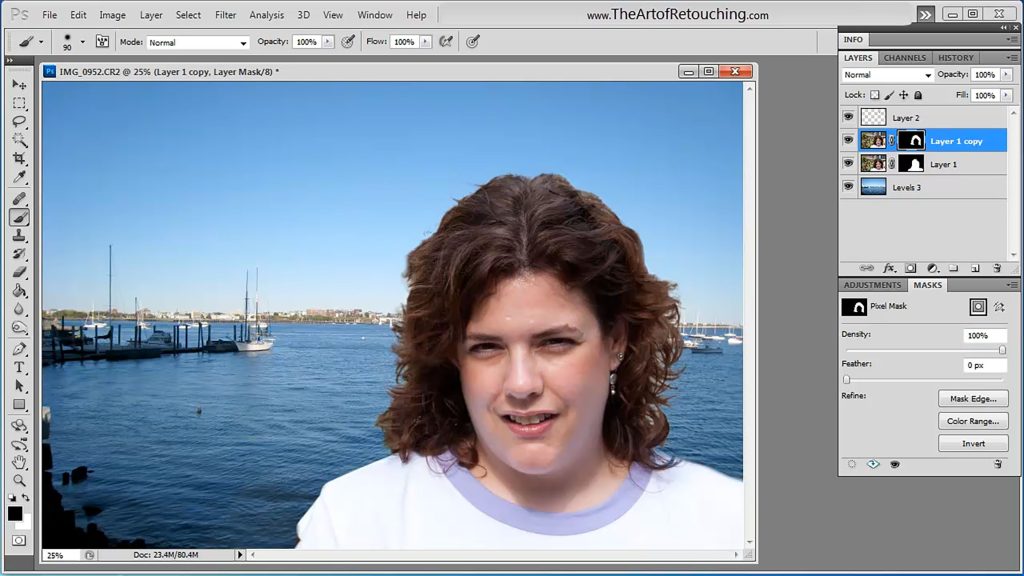
This Photoshop tutorial video is going to cover the Refine Edge Tool. We are going to combine two completely different images into a single photograph. The goal of this video to take you out of your comfort zone, and show you a new way to work.
I have quickly become a huge fan of the Photoshop Refine Edge tool. It's easy to use, nice results, and better than anything else out there for fine masking hair against busy backgrounds. In this example, I use the Refine Edge to extract the hair from a colorful flow background, and place the image onto a blue gradient with near seemless results.
This video is available Free for Everyone.
Running Time: 9 minutes
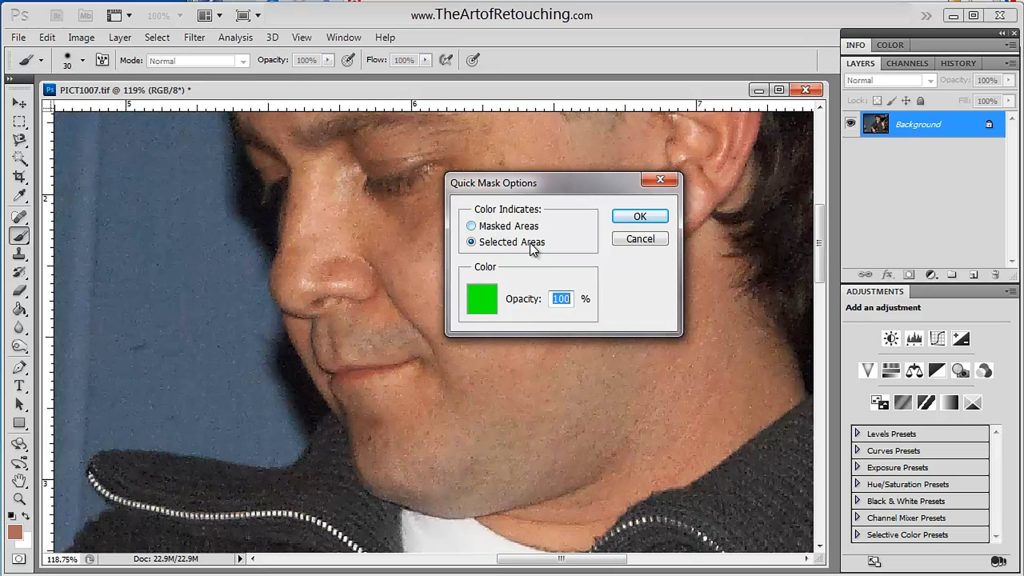
This Photoshop Tutorial video will explain how to properly use the QuickMask Tool. The purpose of this function is to create frisket masking which will allow you to manually select areas of colors or shapes. Once created, you can then use any other tools in Photoshop exclusively on the area that you masked out. While there are other tools available that will allow you to quickly create masks, like the Magic Wand, Magnetic Lasso, and Color Range. However, the QuickMask would be the proper, professional way of doing it.
This video is available Free for Everyone.
Running Time: 12 minutes
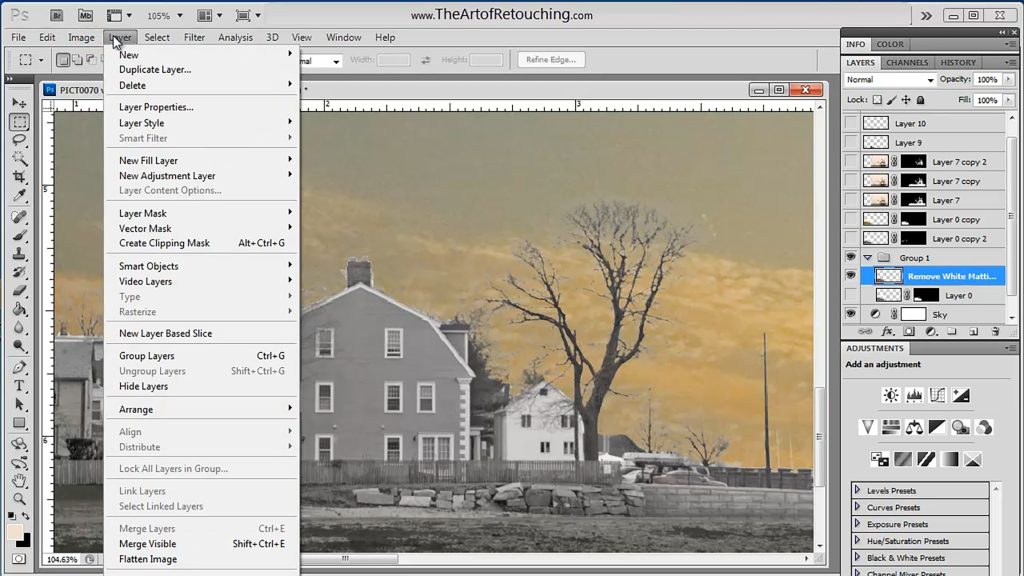
This Photoshop Tutorial video on how to use the Defringe, White Matting and Black Matting Tools. Most images don't really have a need to use these tools, but when they can be used, it's great to know they are there. Halos or Fringe Edges sometimes appear after a selected object has been placed onto a new background. While you should have created the mask using a brush and a QuickMask for a nice tight selection. However, sometimes the object is so intricate, that a manual selection just isn't practical.